Introducing RabbitMQ-Web-Stomp

For quite a while here, at RabbitMQ headquarters, we were struggling to find a good way to expose messaging in a web browser. In the past we tried many things ranging from the old-and-famous JsonRPC plugin (which basically exposes AMQP via AJAX), to Rabbit-Socks (an attempt to create a generic protocol hub), to the management plugin (which can be used for basic things like sending and receiving messages from the browser).
Over time we've learned that the messaging on the web is very different to what we're used to. None of our attempts really addressed that, and it is likely that messaging on the web will not be a fully solved problem for some time yet.
That said, there is a simple thing RabbitMQ users keep on asking about, and although not perfect, it's far from the worst way do messaging in the browser: exposing STOMP through Websockets.
STOMP + Websockets
We're delighted to introduce a new plugin for RabbitMQ:
It is basically a bridge between RabbitMQ-STOMP plugin and a Websockets server (SockJS). Hopefully, it is a decent solution for a set of rabbit-on-the-web use cases.
What it actually does
Within RabbitMQ
RabbitMQ-Web-Stomp is a simple beast. It takes the STOMP protocol as provided by the RabbitMQ-STOMP plugin and exposes it using the SockJS server.
Wire protocol
One can connect to the SockJS endpoint from any browser using the reliable SockJS protocol. This will work even in browsers that don't support native websockets or in environments behind broken proxies that block non-http transports.
Alternatively, for users that don't need this level of sophistication, SockJS exposes a raw websockets url that can be accessed directly from a recent, websocket-capable browser.
In the browser
Within the browser, the connection to SockJS endpoint is basically a raw STOMP connection. You can send and receive normal STOMP frames.
Any decent javascript STOMP library should be able to handle that. For our examples we're using the stomp-websocket library by Jeff Mesnil and Jeff Lindsay.
We use this code in the examples:
<script src="http://cdn.sockjs.org/sockjs-0.3.min.js"></script>
<script src="stomp.js"></script>
<script>
   WebSocketStompMock = SockJS;

    var client = Stomp.client('http://127.0.0.1:55674/stomp');
    [...]
Installation
Rabbitmq-Web-Stomp is an experimental plugin. It's not distributed with vanilla RabbitMQ releases; you need to install it manually.
- You need at least Erlang R14 (more info).
- You need Rabbitmq-server 2.8.2 installed
- Grab the needed erlang plugin .ez files:
wget \
  https://www.rabbitmq.com/releases/plugins/v2.8.2-web-stomp-preview/cowboy-0.5.0-rmq2.8.2-git4b93c2d.ez \
  https://www.rabbitmq.com/releases/plugins/v2.8.2-web-stomp-preview/sockjs-0.2.1-rmq2.8.2-gitfa1db96.ez \
  https://www.rabbitmq.com/releases/plugins/v2.8.2-web-stomp-preview/rabbitmq_web_stomp-2.8.2.ez \
  https://www.rabbitmq.com/releases/plugins/v2.8.2-web-stomp-preview/rabbitmq_web_stomp_examples-2.8.2.ez
- Next, copy them to the plugins directory. For example, on my Ubuntu box this will be:
sudo cp *.ez /usr/lib/rabbitmq/lib/rabbitmq_server-2.8.2/plugins
- Now, you're ready to enable them using rabbitmq-plugins:
sudo rabbitmq-plugins enable rabbitmq_web_stomp
sudo rabbitmq-plugins enable rabbitmq_web_stomp_examples
- Restart the rabbitmq server. On ubuntu:
sudo /etc/init.d/rabbitmq-server restart
As you may have noticed, we enabled two plugins:
- First, RabbitMQ-web-stomp, which is the main plugin. It exposes SockJS endpoint on port 55674, like: http://127.0.0.1:55674/stomp.
- Second, RabbitMQ-web-stomp-examples, which only hosts a few javascript and html files with examples. This is accessible under: http://127.0.0.1:55670/.
Keep in mind, that RabbitMQ-web-stomp depends on RabbitMQ-STOMP which by default will bind to port 61613.
The usage
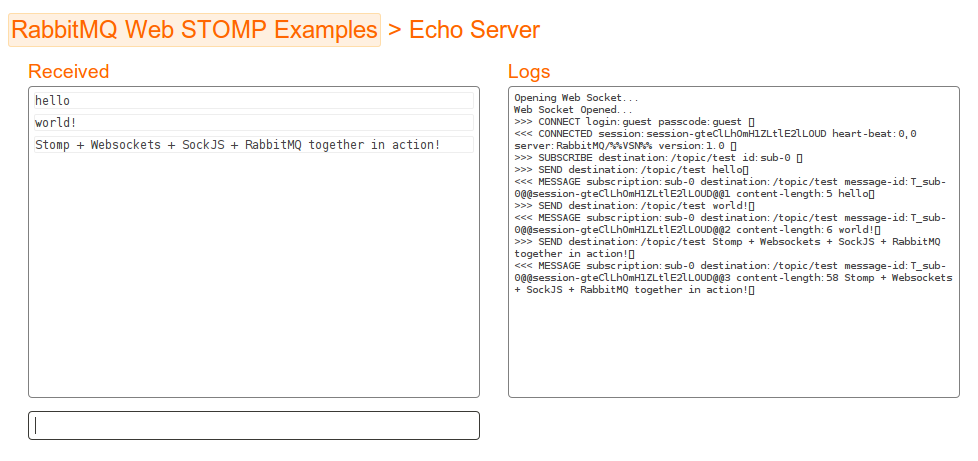
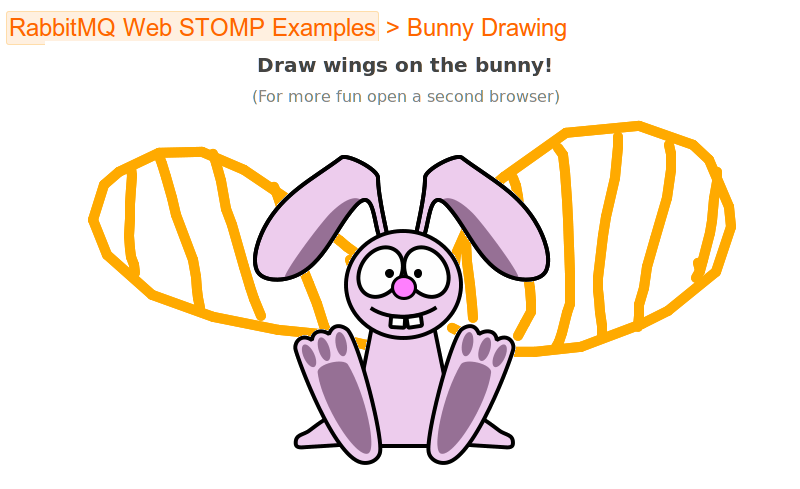
If you enabled RabbitMQ-web-stomp-examples plugin, you should be able to instantly run two examples prepared by us. Just open a web browser at http://127.0.0.1:55670/.


Summary
RabbitMQ-web-stomp is quite a simple plugin, but opens wide possibilities, exposing the STOMP protocol to the browser.
Like always, feedback welcome. We're also looking for inspiration for more examples!